When you receive your Crystal Clear Socket you will find three parts, the Socket Component, a Blank Template Cut Out and finally a Crystal Clear Cover.
Simply wire then fix the switch or socket to a standard flush wall box making sure the wallpaper or paint is finished up to the edge of the box and that it disappears under the edges of the switch or socket.
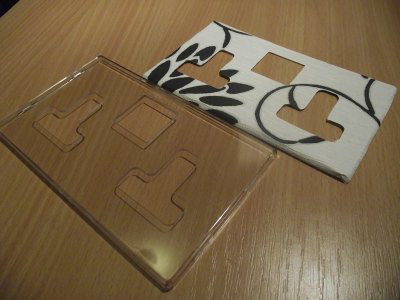
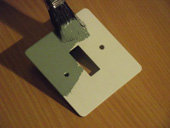
Using the blank template provided cut out a sample of matching wallpaper and check the pattern matches the surrounding paper. If you are installing onto a painted wall simply paint the template the same colour as the wall.
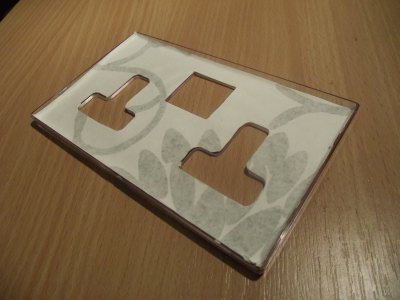
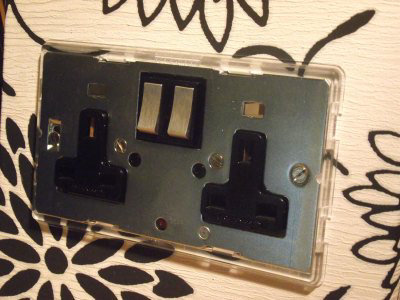
You should now have your paper sample ready along with the clear Crystal Clear Faceplate. Place the paper sample inside the back of the clear Faceplate making sure the edges of the paper curl up into the moulding of the faceplate.
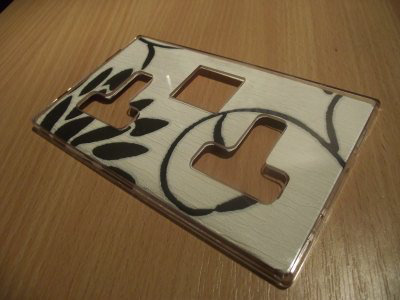
You should find that this fits perfectly right to the edges of the faceplate. The Faceplate is now ready to fit.
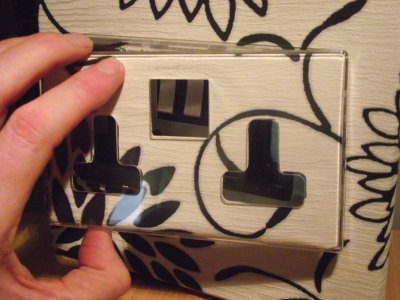
Carefully place the Crystal Clear Faceplate and paper sample into position over the switch or socket mechanism and simply push on until it clicks into place.
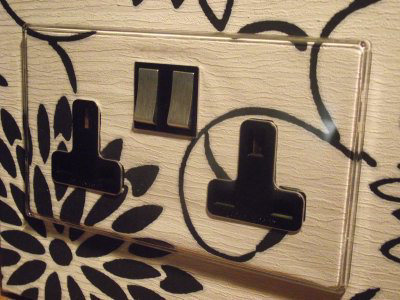
That’s it! You should now have your Crystal Clear Faceplate in place giving the illusion that the wallpapered or painted wall runs seamlessly behind the switch plate.
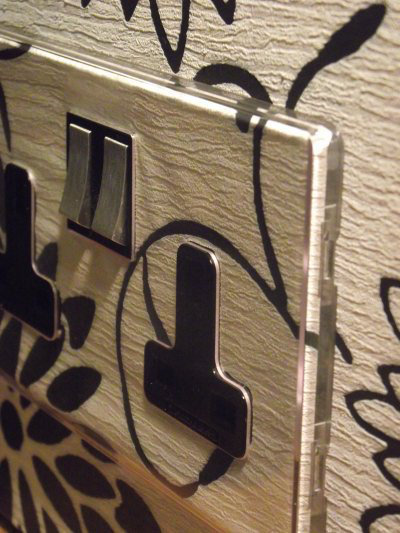
Crystal Clear Screwless Faceplates are approximately 5mm thick with rounded edges and are available with a variety of metal inserts in different finishes.
If you have a particularly thick or flock style wallpaper we recommend you install the standard Crystal Clear plate rather than the screwless version.