Save Up To 40% On Sockets & Switches - See Spring Sale Sockets & Switches
How to Install a Paintable Light Switch
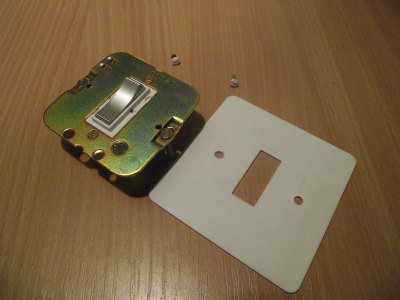
When you receive your Paintable Switch or Socket you will find three parts, the Switch or Socket Mechanism, a Primed White Faceplate Cover and finally a pair of Primed White Fixing screws.
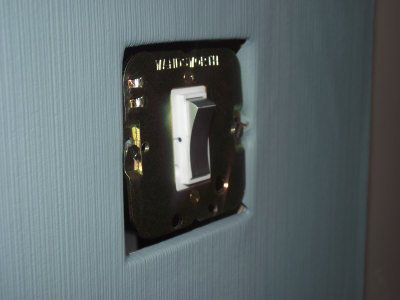
Simply wire then fix the switch or socket to a standard flush wall box making sure the wallpaper or paint is finished up to the edge of the box.
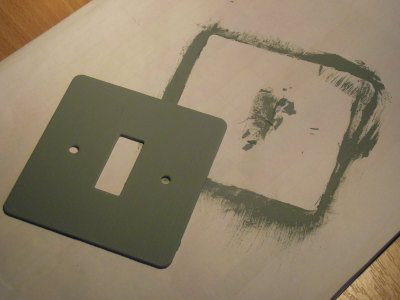
To make sure the painted surface will blend into and behind the faceplate we suggest that you try the Primed White Cover before painting it. This will also help you check that the switch is straight and in the correct position.
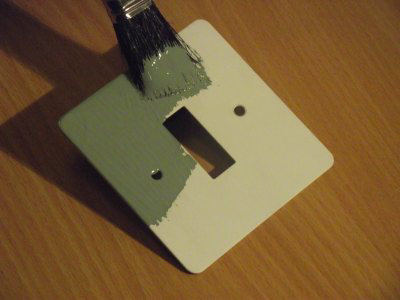
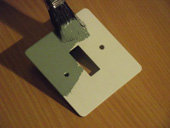
You can now start to paint the face plate. Be sure to clean any dust or debris before you start to ensure a smooth finish.
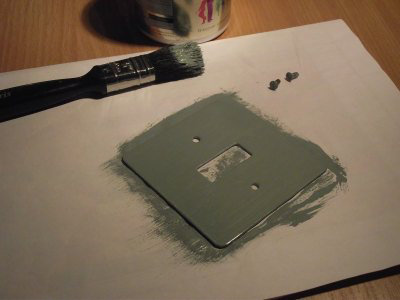
Once you have finished applying the paint to the faceplate don’t forget to paint the edges too as these will show once the cover is installed. Also remember to paint the Primed White Fixing Screws.
Leave the faceplate and screws to dry completely. Once dry the cover will be ready to fit.
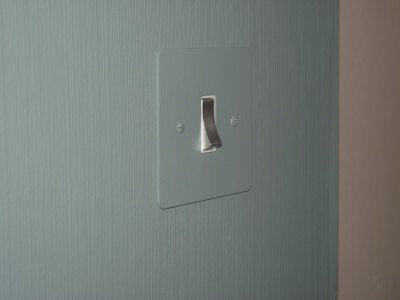
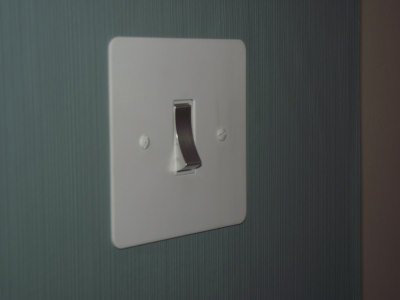
That’s it! You should now have your Painted Faceplate in place giving the illusion that the painted wall runs seamlessly behind the switch plate.
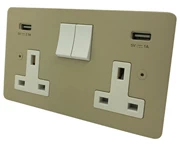
Paintable faceplates are less than 2mm thick and are available with a variety of metal inserts in different finishes.